 Talk to an old timer who relishes the “old days” and they will tell you they expended thousands of rounds and hundreds of hours to “know their rifles” and determine their ballistics. Like most of the old days it was just that, old. It was a PITA, costly, and it took a ton of time. Placing targets at 50 yard increments out to 1000 yards and shooting each took forever, and it was anything but accurate. It was nothing more than an indication of what you, your rifle and that ammunition would do on that day under those conditions at that place. So long as you deployed on your range that week or month you were good. Go anywhere else and you really had to do it all over again. Better than nothing for sure, anything but precise. Sort of like using Mils to range and MOA to dial, fine for the time, useless today. It did provide an opportunity for someone who thinks he’s a rocket scientist to take your time and money. There had to be a better way, and now there is, the Ballistic Calculator, in this case the Kestrel with Applied Ballistics software.
So what does it do?
How a bullet flies after it leaves the barrel is surprisingly predictable “if” you know the parameters. Physical characteristics like diameter, weight, length, and its Ballistic Coefficient (how it cuts through the atmosphere) are known factors you can find on the Internet. We even know how spin effects its movement (spin drift), and we can calculate Coriolis effect, or how the curvature of the earth alters trajectory. Hand held devices can measure temperature, humidity, barometric pressure, air density, elevation, all the things that effect how that bullet flies (or more appropriately drops). Plug all that stuff in and that magic little machine calculates it all, instantly. Do you need to know why and how, nope. You can for sure, there are classes, experts, books, CD’s you can learn it all, but you need know little or nothing as to the minutia to make it work.
Kestrel for the mathematically challenged?
You can get lost in the details, feel free if you have time. This is not some tutorial on every aspect of the Kestrel. It does stuff I don’t use, don’t need, and will not waste my time working with. I want a confirmed velocity for my bullet given the conditions resulting in a consistent trajectory that moves with me, that’s it. It works, trust me, getting first round hits at 800-1300 yards is something I do every week testing rifles and it’s not difficult. Well, the shooting part is, and reading the wind, but the elevation is generally right on, the rest is up to me.
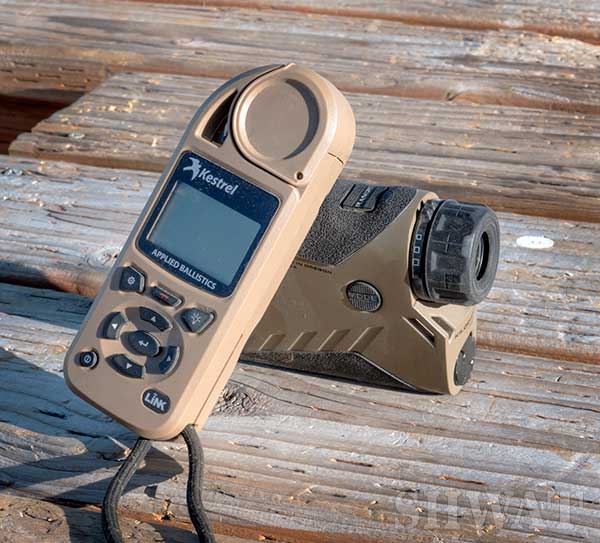
The Kestrel comes in two flavors with AB Ballistics installed, the 5700 has basic software, fine for most. Gets you to 1000 yards in most conditions and costs about $400.00. The 5700 Elite contains Applied Ballistics highest level program including Litz custom drag models, drop scale calculation, a range card and multiple target view, cost is $700.00. The only difference is the software and you can upgrade to the Elite if you want later. Both have Bluetooth capability to link with phones and computers. If you intend on being a PRS type it’s worth the added cost, or if you are going well beyond 1000 yards. If not save your money and start with the 5700.
You are basically solving for missing factors using knowns. You need two knowns to solve for the unknown. Kestrel and the Applied Ballistics software take care of all but two, range and muzzle velocity. You need to know the range because someone else measured it (typical of PRS comps), or a rangefinder to get it. Lots of rangefinders out there, get one that exceeds your typical range and you should be fine. No need to go whole hog unless you have to, but you pay for quality.
You can get muzzle velocity a couple different ways. Match ammunition generally has it on the box or website, it is more than adequate to get started. Using the Kestrel and known range you will get the correct velocity anyway. If you hand load something like the MagnetoSpeed V3 is perfect. Results will be close but not perfect, but that’s why you need to shoot your gun, only instead of weeks and hundreds of rounds you can do it with 20-40 rounds and a couple targets.
 Getting it done with the Kestrel
Like all computers the Kestrel needs a solid starting point, that whole garbage in / garbage out thing. Fire it up and follow the instructions to get your current temperature, barometric pressure and / or elevation, and percent humidity. Using the “weather” side of the meter enter those numbers to give your meter an accurate base. Check those on occasion or if you travel, it needs to be accurate.
Move to the Applied Ballistics side and enter your “gun”. It’s more bullet than gun, but a couple factors will be rifle dependent. Click on gun and hit enter and cycle through and name your gun / bullet. Move to MV and enter that number either from the ammo box, website, or the one you measured. DM is the “model” used to measure a bullets BC. G1 is for flat based, spitzer, or similar bullets. If it’s a boat tail or designed for long range use G7. In my experience both are close, you just have to make sure you enter the correct number for each, mix them up (G7 BC on the G1 setting) and things get all screwed up. Next is BC, it may be on the ammo box, should be on the website, and you can use those from Brian Litz or Applied Ballistics. Generally an Internet search finds it, numbers like .197 (G7) or .545 (G1). Don’t get lost in the weeds, most are exaggerated but they are close enough. BW is bullet weight in grains, 90, 150, 160 etc. BD is bullet diameter, 5.56mm is .224, 6mm is .243, 6.5mm is .264, they can all be found on the Internet. Bullet Length (BL) can be found on websites or Internet searches, Hornady does not list theirs, but they generally pop up on a search. IZR is the distance you zeroed the rifle, for most that’s 100 yards, or 100 meters. If you want to stay in meters a 100 yard zero is 92 meters.
BH is your first rifle specific parameter, Bore Height. It’s the distance from the center of your bore to the center of scope. Again, don’t get lost in the minutia, you can drag out the micrometer, or just use a ruler. Unless you are getting out past 1500 yards it matters pretty little. Most of the time I use 1.75 on bolt guns, 2.25 on AR’s, never seen it make a difference. ZH, just move on, it’s one of those things I seldom use. Same with ZO (zero offset), both are cool features, just not necessary for most. Rifle Twist (RT) should be marked on your barrel or the spec sheet and will be 1:7,8,9 or similar and you enter the second number. RTd is the direction of the twist, left twist barrels exist somewhere, 99 percent are Right. Eunit is what your turret uses for elevation, generally Mils or Tmoa (True MOA). Eclick is how much each “click” of the turret moves, most MOA scopes are .25 or ¼, mils will generally be .10 mils. Wunit and Wclick are the same thing only for your wind turret. Ignore Call and View DSF for now, purists will freak but I never use it. That’s all the entering most will need ever do, you can get the rest done just changing those numbers.
 Confirming your bullet / trajectory
Time for some shooting, the basics for making sure what’s in the Kestrel is accurate and its starts by getting a solid zero on the rifle. Make sure it matches the one you entered. The rest is easy, but requires some distance and that’s the hard part for most. Ideally you want to shoot first at a target in the 500-600 yard range and check to see how close it is, mostly to make sure nothing was entered in error. What the Kestrel tells you should be very close. Then you need a target you can hit (and see) or check that’s in the transonic range of your bullet, generally in the 1300 fps range. Relatively slow .308 for instance is still around 1000 yards. Fast bullets like the Creedmoor’s are closer to 1300 yards, it can be much farther. If you click on Range Card and keep cycling down (or up) increasing range eventually you will see an asterisk next to a range. That first one you see is the start of the transonic range.
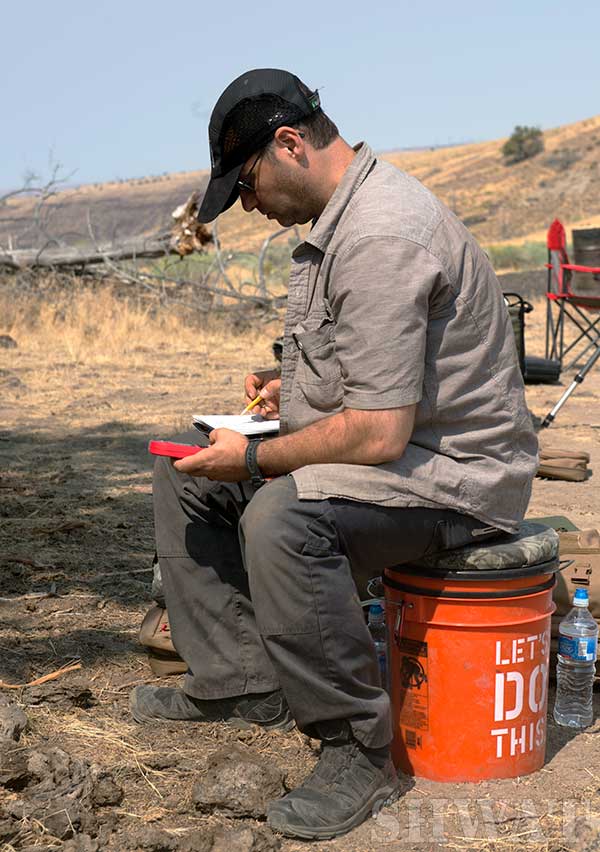
Get on target and “send them” starting with the number on the Kestrel. Watch your hits (or misses) and adjust until you get a solid group of 3-5 rounds centered on target, wind is not important. That is your confirmed hold at that range, why, cause that’s what it took for you and your rifle and ammunition to actually hit the target, consistently, in the tightest group you can muster. Go back into the Gun section and adjust your velocity (or BC) until the number on the Kestrel matches your confirmed elevation. Then confirm at shorter ranges to make sure. You should be able to get centered hits (for elevation) on everything closer using the hold in the Kestrel. You can go back and try again at your confirmation distance just to be sure, if so you are done.
If you want to use the Call DSF its pretty simple. Hit enter and it will give you a preferred range, it will be longer than most people can ever shoot, its why I ignore it. Click on Range and hit enter, then enter the range you can use, or did use to confirm. Move to Drop and enter your confirmed hold / drop and hit enter. Press exit and a screen will pop up asking if you want to Accept DSF, if so hit yes and it will calculate your “accurate” muzzle velocity and adjust the trajectory throughout. Same process just a bit more precise.
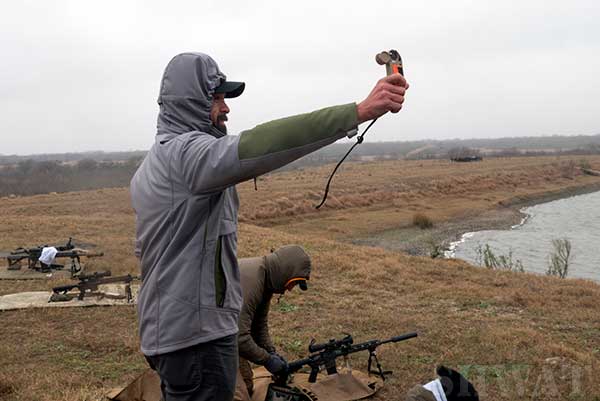
Last thing and you are done. Go back to the main screen and enter Environment. The first thing up is “Update”, hit yes. Move down to SPnDft (Spindrift) and hit yes, then exit. As a note, while you are in there scroll down to Dalt (Density Altitude). That is the altitude adjusting for all the atmospheric conditions and will change since you allowed update. When you get somewhere else take a few minutes to acclimate the Kestrel, its why you see guys at a match swinging it around like they are in Australia communicating with the Aborigines. It will plug all the data in and change your trajectory to match, you just enter the number based on range and it has done all the work, pretty slick!
 Wind
Wind
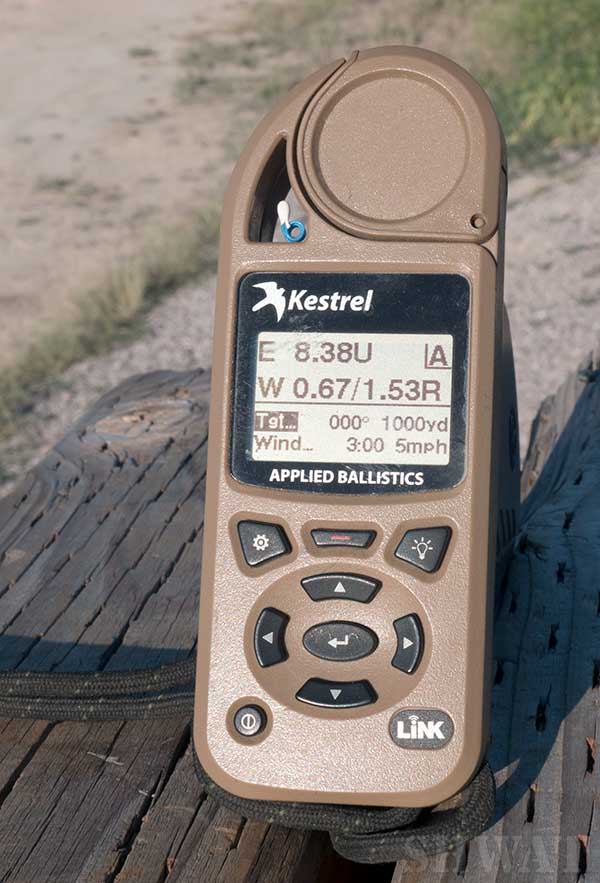
The Kestrel is a very cool windmeter, one I seldom use mostly because all it tells you is how windy it is by you, not anywhere it really matters at longer ranges. But, go back to the main screen and enter Wind. Enter WD (direction) and put in 3:00 or 9:00 meaning its full value, or directly left or right in relationship to the target, it’s the most effect wind can have on your bullet. Enter WS1 and enter 5 (mph), then WS2 and enter 10 (mph). You can enter measurements if you want, but reading wind is not that simple. Go back to the main screen and you will see W with a first number / then second number. That first number is your wind hold (including spindrift) in a direct left or right wind (the one you picked) at 5 mph, the second is 10 mph. If it’s less or more you just half or double as needed, keeps it simple. It provides a starting point to read the wind, take a shot, then adjust as needed using your reticle, but it’s a good start. If you know it’s more you can start higher, but this works 90 percent of the time.
Final Thoughts
Clearly the Kestrel will do more things, just none I have ever needed or wanted to take the time to use. This is very down and dirty, but it works, has been over the last 10 years with dozens of rifles and calibers all over the country. All the other devices (phones, GPS,) do the same thing, the Kestrel is just simpler to me and transports well. No need for linking, just fire it up, get it acclimated and follow the numbers.
It’s been 6 months since the batteries were changed in mine, still says 100 percent and it gets used every week, at times every day. My “rig” for precision shooting has a spare magazine, the Kestrel, my Kilo 2400 range finder, med kit and water. With that and my rifle I can go anywhere and reach the limits of my cartridge using nothing else. Range, enter data, turn knob or hold, read wind and press, watch and read your hits / misses, adjust for the inevitable bad wind call and press again, job done. Does not get much easier.
Not everyone can get to these longer ranges, don’t fret, even confirming your elevation at 300 or 500 yards is better than nothing. It will get you close out to 800 yards, maybe farther, but that’s about it. So, you may miss the first time you aim at 1000 yards, but then it’s just a matter of making final adjustments. If you never see more than 300 yards I am not certain you would even want to spend the money on one, you can get all you need on a cheap phone program or the Internet.
So, I just took about 8 times longer to explain how to work this thing than it will take you to work it. It’s just not that hard, unfortunately it looks intimidating, especially for the mathematically challenged like me. Once you do it a couple times it takes nothing, you can add a gun in a minute or two and confirm it on the range in 20-40 rounds, maybe even less if its already zeroed. Done properly you can head to that hunt or match, or just have some fun and get all kinds of hits on target without all the old time fuss and mess, try it, my guess is you will like it!

Thanks for the article David!
Many of my friends who shoot PRS use the Kestrel and the software for their matches.
E